Quick Reference Guide
In this guide we will discuss some of the tools a host has at their disposal in a WebEx Meeting.WebEx allows for individuals to be hosts. The person setting up the meeting is automatically considered the host, but the host role can be given out once the meeting is started.
Starting a WebEx Meeting
Host Tools
Changing Host Role to Another Participant
HelpDesk Support
-
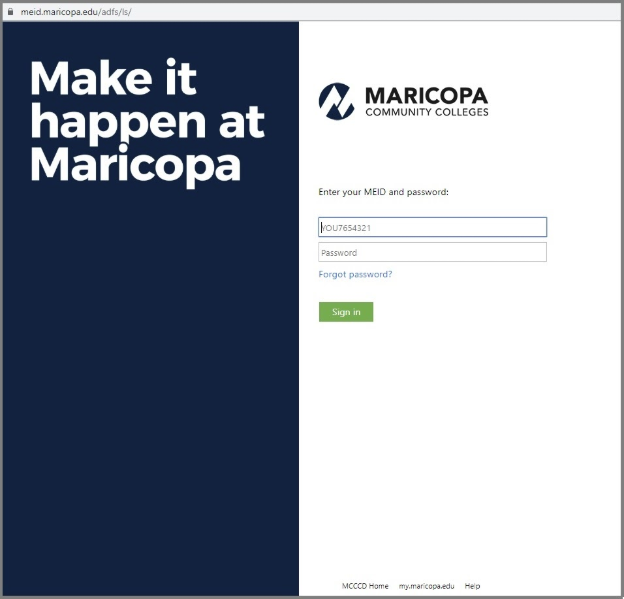
Navigate to the WebEx page
-
Click on the Sign In button at the top right

-
Enter your [email protected] email as your username

-
Login to Enterprise SSO (If Necessary)
Note: If you are already authenticated you will not need to complete this step.
If you are prompted, however, use your MEID and password combination to complete the last step in the authorization process.
-
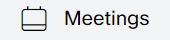
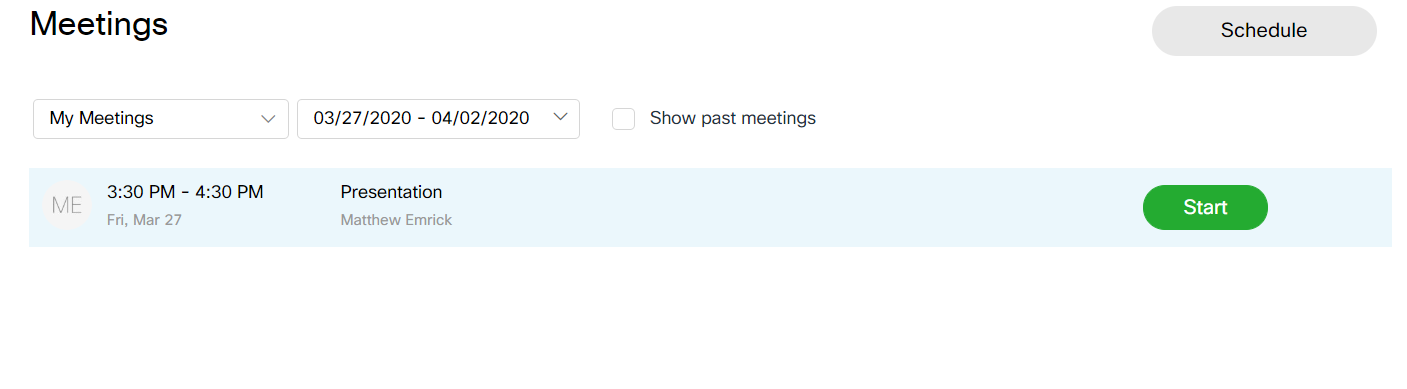
Click on Meetings in the left side navigation column
-
You will see all of the meetings you have scheduled on this page
-
To start a scheduled meeting, click on the green Start button for the meeting you wish to start

-
The next page will show you a preview using the default webcam and microphone

Note: If you do not see a preview continue to the WebEx Audio and Video Settings Guide
-
Click the green Start Meeting button to begin the meeting
Hosts have a variety of tools at their disposal. Located at the bottom of the meeting screen is a bar with all of the tools a host will need (See below image). We will go through all of the tools one by one.

-
Mute Mic: This option will mute your mic to the rest of the meeting
Note: It indicates it is muted when the icon is red

-
Mute Camera: This option will turn off your camera to the rest of the meeting
Note: It indicates it is muted when the icon is red

-
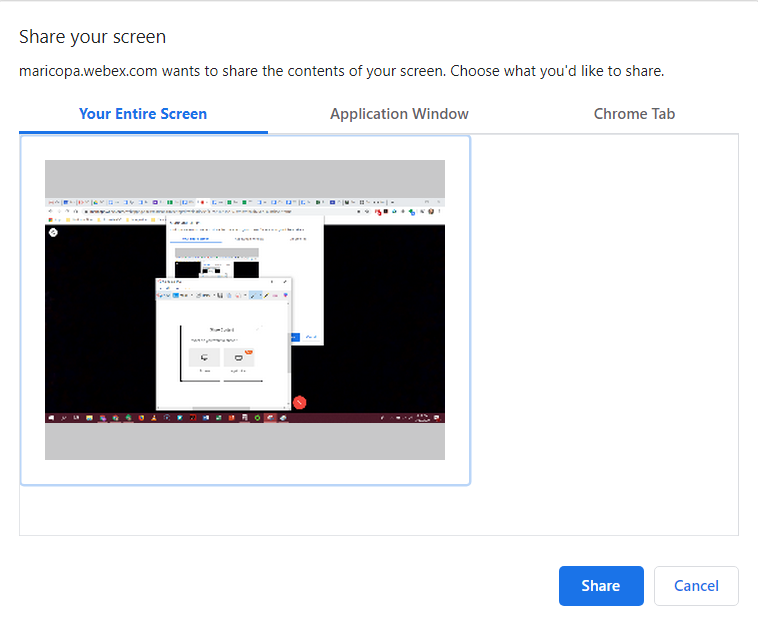
Share Content: This option will allow you to share the content of your screen or application to the rest of the meeting. Use the following steps to choose what to share during a meeting
-
Click on the Share Content icon

-
Click on the option, Screen or Applications
Note: The option Screen will share you entire screen and the option Application will share an application (e.g. PowerPoint)

-
Select the screen you wish to share and then click the blue Share button
-
You are now sharing your screen to the meeting
-
Record: This option will allow you to record the meeting. Use the following steps to record your meeting
-
Click on the Record button

-
Click on the red Record option to begin recording

-
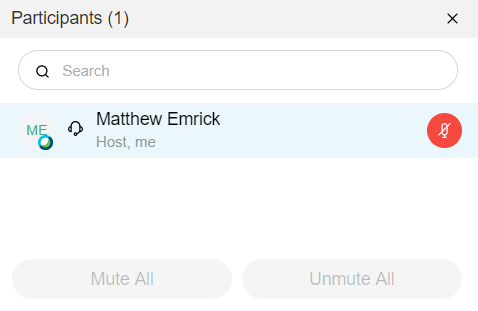
Participants: This option will show you all the people who are currently in the meeting, and, as the host you can mute any participant’s mic. Use the following steps to mute a participants mic.
-
Click on Participants button

-
Hover over the participant you wish to mute, click or go to the bottom right and click Mute All
-
Chat: Select the Chat icon to view the chat log or chat with participants. Use the following steps to view the chat log.
-
Click on the Chat icon

-
Type what you want to say in chat in the text box provided at the bottom

-
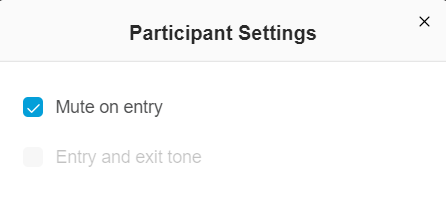
More Options: This option has many sub options. The most important setting is if you want to mute everyone participant when entering the room. You can also configure your mic and speakers. Additionally you can poll your audience if necessary. To mute all participants on entry please use the following steps:
Note: It is a best practice to join the meeting early to set this setting up before anyone joins
-
Click on Participant Settings

-
Check Mute on Entry
-
Click the X
-
Now all participants will be mute when they enter the meeting
-
Leave Meeting: To leave the meeting click on the red Leave Meeting button

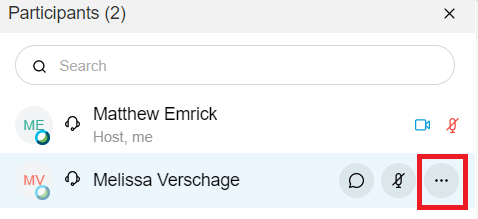
To change host privileges to another participant follow the steps below:
-
Click on the Participants icon
-
Hover over the Participant you want to promote to host and click on the ellipses
-
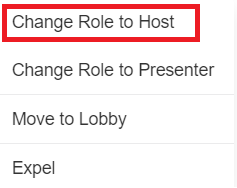
Click on the option Change Role to Host
-
That participant is now the host!
Questions or Concerns
For any questions or concerns please submit a HelpDesk ticket, email the HelpDesk at [email protected], or call the HelpDesk at (480) 423-6274 and select option 3.
On a scale of 1-5, please rate the helpfulness of this article
Optionally provide private feedback to help us improve this article...
Thank you for your feedback!